

Product Description
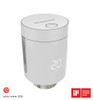
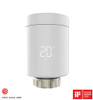
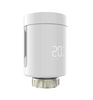
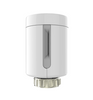
Smart radiator thermostat
Old radiators can learn new tricks.
Quiet comfort and smarter control for radiator-heated rooms.
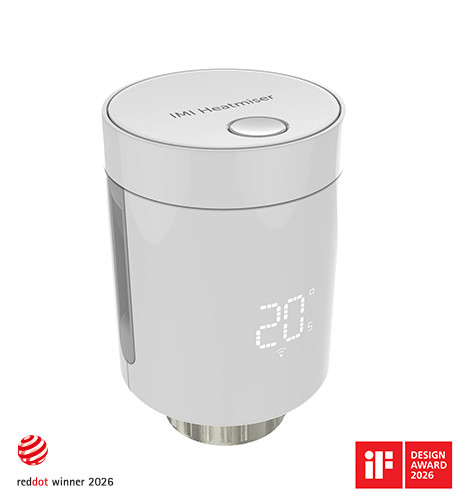
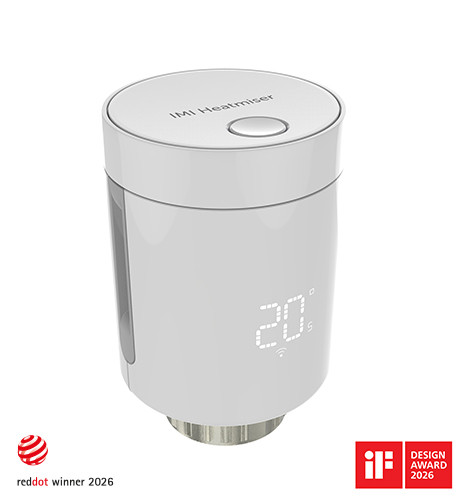
neoFlo adjusts the radiator valve to help maintain the temperature you set. Use it for local control at the radiator, or bring radiator rooms into neoApp alongside your existing neo heating controls.
Why choose neoFlo?
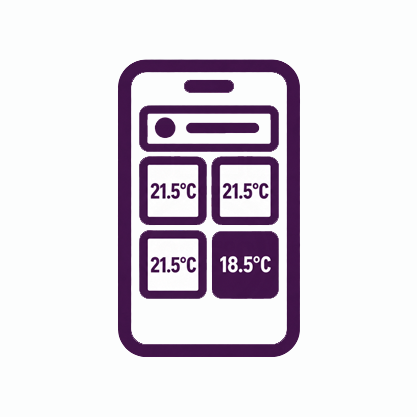
Control each room individually
Keep the living room comfortable and choose a cooler temperature for the spare room.
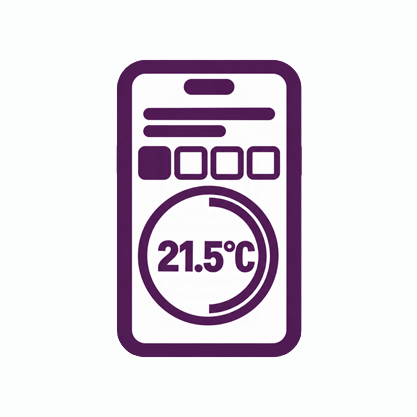
Schedule rooms around your routine
With neoHub G3, set schedules in neoApp to reduce heating while rooms are empty and plan warmth for when you use them.
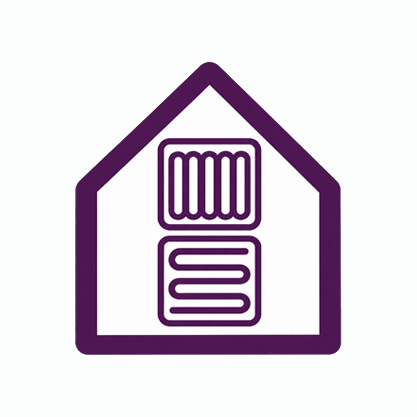
Extend an underfloor system
Bring radiator rooms alongside your existing neo underfloor heating controls in the same app, through neoHub G3.

Quiet in everyday use
Hybrid control technology combines electronic precision with quiet operation to help maintain your chosen temperature.

Battery powered
Four AA batteries provide up to six years between replacements, depending on use.
Choose your setup
What do you want neoFlo to do?
Start with the control you need and check which components you already have.
Local control
Control at the radiator
Set the temperature directly on neoFlo. Your existing heating controls supply warm water to the radiator.
You need: neoFlo
Connected control
Control through neoApp
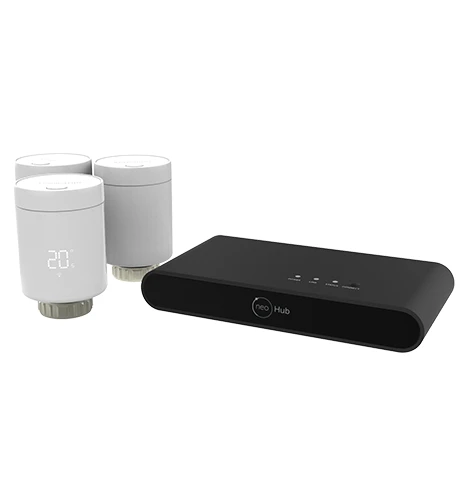
Add neoHub G3 for app temperature control, schedules and remote access. Existing controls continue to switch the heating on.
You need: neoFlo + neoHub G3
View Smart PackConnected heat requests
App control and heat requests
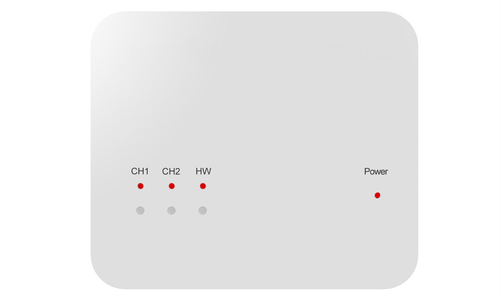
Include an RF Switch if radiator rooms need to switch the heating on when they need warmth. A qualified installer makes the heating connection.
You need: neoFlo + neoHub G3 + RF Switch
View Heating PackAlready using neoApp? Open My Properties. Your hub model appears beneath your property name. If it says neoHub G3, you already have the hub needed for neoFlo app control.
neoHub Gen 1 and Gen 2 need upgrading to G3 for neoFlo app control.
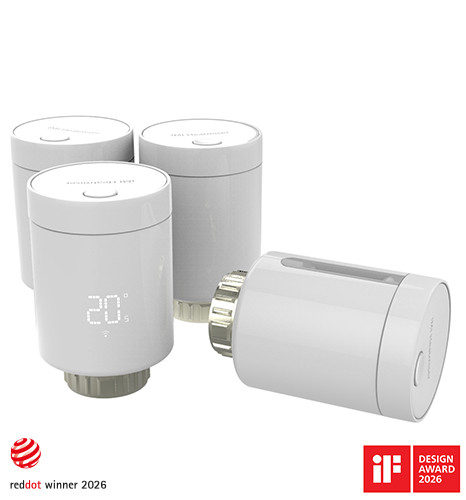
Adding more radiator rooms? Fit one neoFlo to each compatible radiator you want to control.
View Four Pack See all packsHow the components work together
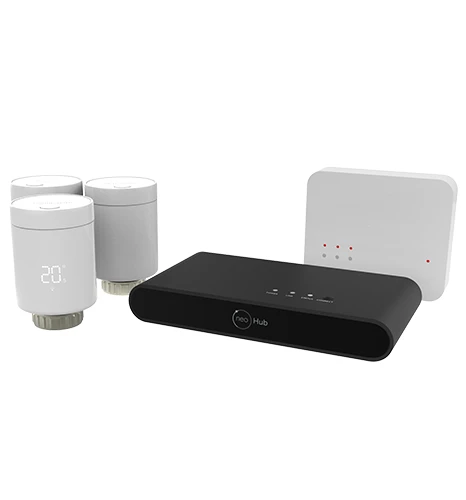
Your heating system supplies warm water. neoFlo adjusts the radiator valve to maintain the temperature you set. It connects separately to neoHub G3 for app control and, where needed, to RF Switch to request heat.
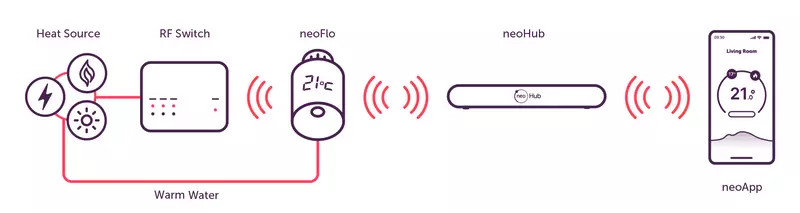
When is RF Switch needed? If your existing controls already supply heat when these rooms need it, you may not need one. Otherwise, neoFlo can send wireless heat requests to an RF Switch wired to your boiler or heating zone.
RF Switch receives requests directly from neoFlo. neoHub G3 provides app control; it is not the link between neoFlo and RF Switch. A qualified installer must make the heating connection and assess the setup.
Check your radiator valve before fitting
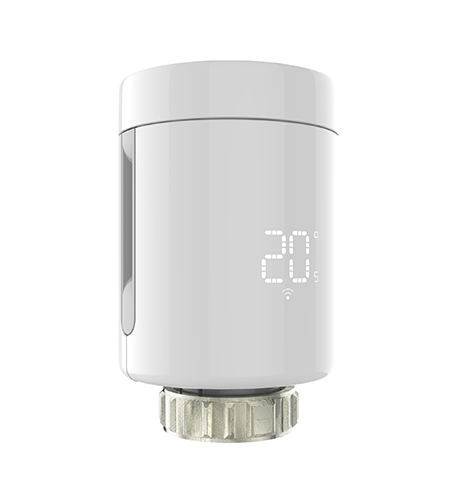
- neoFlo has an M30 × 1.5 connection for compatible thermostatic radiator valves.
- A Danfoss RA adaptor is included.
- Other valve types may need an additional adaptor. Check the installation guide and datasheet before fitting.
On a compatible valve, replacing the thermostat head needs no draining or wiring.
Replacing an unsuitable valve is a separate plumbing job. Any new RF Switch connection to the heating system requires a qualified installer.
Award-winning design
Internationally recognised product design
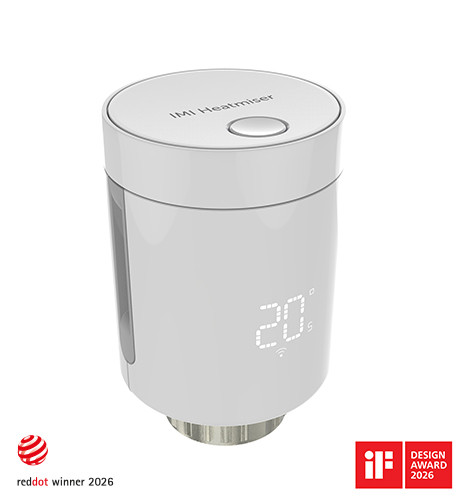
neoFlo has received both iF and Red Dot recognition for its approach to smart radiator control.


Frequently asked questions
Can I use neoFlo without the app?
Yes. You can adjust the temperature at the radiator and use the basic standalone functions without a hub. neoHub G3 adds neoApp control, app schedules and remote access.
Will the radiator heat up if my heating is off?
The radiator needs warm water from your heating system. Opening the valve alone will not warm it. Where radiator rooms need to switch the heating on, a compatible RF Switch setup can allow them to request heat.
Can I keep my existing neo underfloor heating controls?
neoFlo can work alongside compatible neo underfloor heating controls, bringing radiator rooms into the same app. You need neoHub G3 for neoFlo app control, so an older hub will need upgrading.
Can I use an RF Switch I already have?
Ask your installer to check its version, compatibility and existing wiring before adding neoFlo. They can confirm whether it supports the proposed setup or needs replacing.
Product downloads
Find fitting instructions, valve adaptor details, pairing guidance and product specifications.
Warranty Information
2 Years Direct Manufacturers WarrantyProduct Videos
Videos Hide Videos Show Videos
-

neoFlo Smart Radiator Thermostat Controls, Functions & Features Overview
Get an out-of-the-box overview of the new IMI Heatmiser neoFlo...
-
neoFlo Installation Guide Simple Setup & Fitting Overview
In this short video, we walk through the simple installation p...
-
neoFlo Screen Display Guide Symbols, Icons & What They Mean
In this short video, we guide you through the neoFlo screen di...
-
How to Pair neoFlo with neoHub & neoApp
Learn how to pair your neoFlo Smart Radiator Thermostat with n...
-
IMI Heatmiser neoFlo the Smart Thermostatic Radiator Head
Take control of your radiator heating with neoFlo – our advanc...


Custom Field
Product Reviews
1 Review Hide Reviews Show Reviews
-
Zone upgraded to Neoflow
Upgraded a poorly located existing Neostat thermostat to an RF Switch (v2), Gen 3 hub and neoflow to better control single room temperatures and allow the NeoFlow thermostats on each radiator to drive the boiler demand. A couple of hiccups during set up where I struggled to add zones within the App. Killed the App and tired a few times but no joy. A hard reboot of the 'phone sorted it out and I was able to add the zones back in quickly and without any hassle - everything worked as it should. Here are the basics.... 1. Started by deleting all the zones and location in the Heatmiser App associaed with the existing hub - effectively removed the app's knowledge of the existing setup. 2. Replaced the Gen2 neohub with the Gen3. Linked to the new Gen 3 hub in the app. 3. Replaced the poorly placed NeoStat with the RF switch to utilise the existing channel wiring back to our UH2. Yes, a UH2 - very old school... 4. Installed the NeoFlow valves and paired to the RF switch as per the NeoFlow instructions. 5. Added each of the existing zones (kitchen, bathroom, utility room etc.) back into the app linking each of our existing Neostats. 6. Added the new NeoFlow zones. System up and running and have effectively turned a single zone 'main house', into 5 new zones for each room.